This lesson shows you how to assign a name to an object in Excel.
When you work with objects in Excel, it helps to give them unique names. Especially, if you plan to use them in code. That is probably the main purpose for naming an object.
Steps to assign a name to an object in Excel
Follow the steps below to assign a name to an object in Excel.
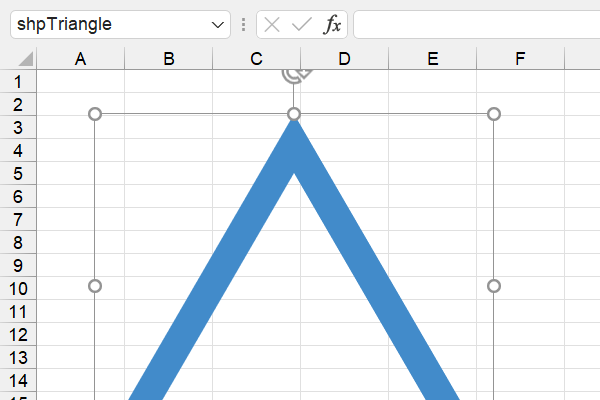
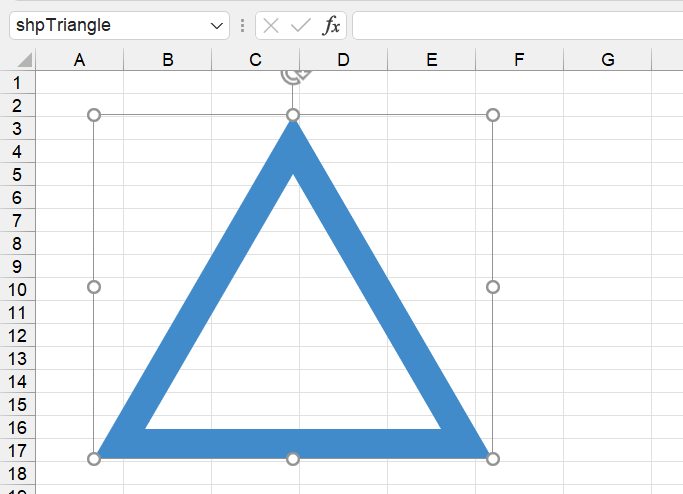
Steps 1 and 2
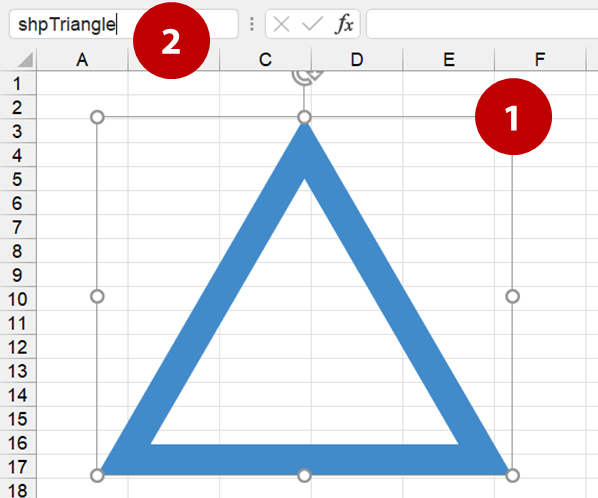
- Select your object.
- In the Name Box, enter a unique name for your object and press Enter.
There you have it. You just named an object in Excel. That is all to it.
Overall, we like to prefix our names with a three-letter string, relating to the object. So, we use shp for shape. Other examples include txt for text, rng for range, and ref for reference. Moreover, spaces in names are okay. But, we suggest using underscores instead of spaces.
Test your object using VBA
Here are the steps to test your named object in VBA.
Steps 3 and 4
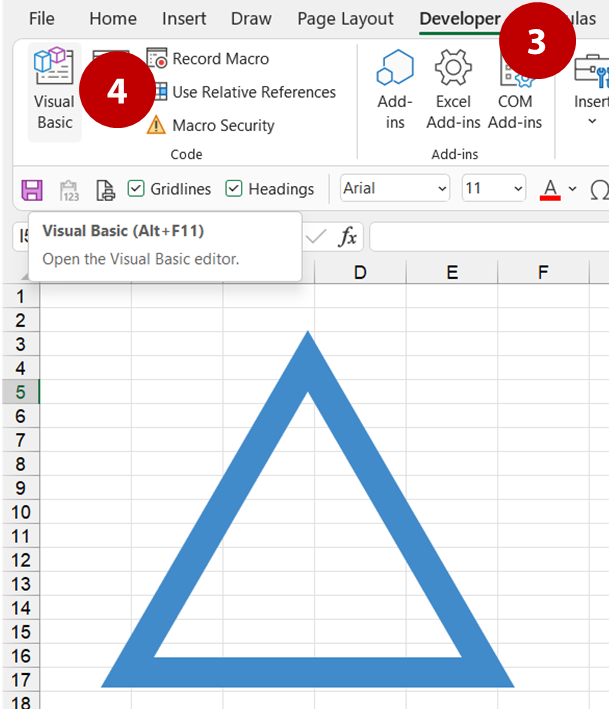
- Show the Developer ribbon.
- Under the Code group in the Developer ribbon, select Visual Basic. This will open the VBA window.
Steps 5 and 6
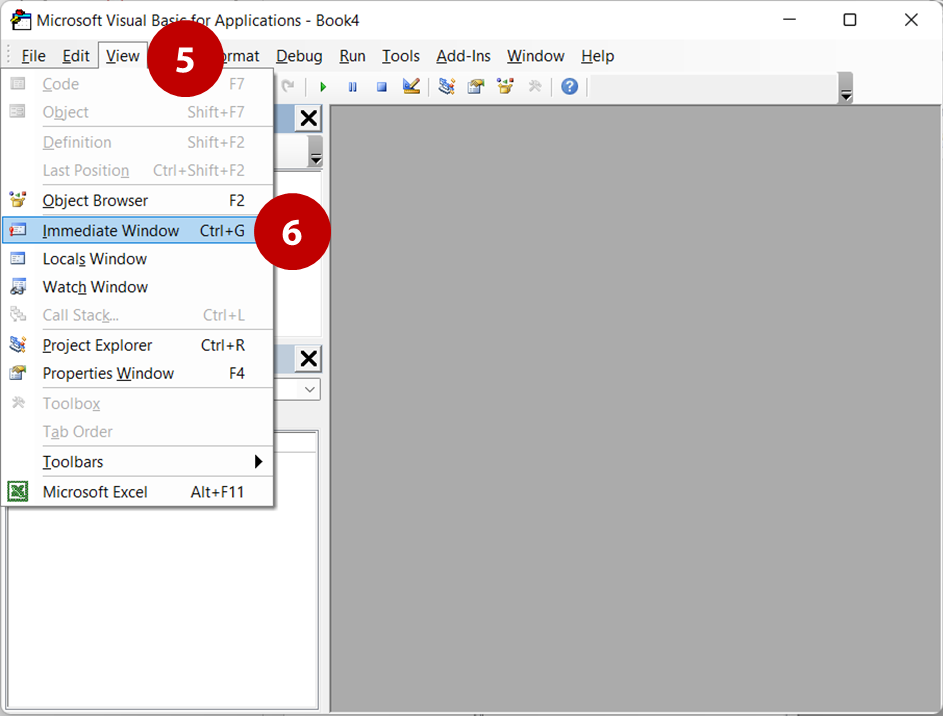
- Click View from the main menu of the VBA window.
- From the View menu, select Immediate Window.
The Immediate Window will appear in the gray area. Also, it allows us to test single lines of code.
Now, let’s create a subroutine to test certain properties of our named object.
Step 7
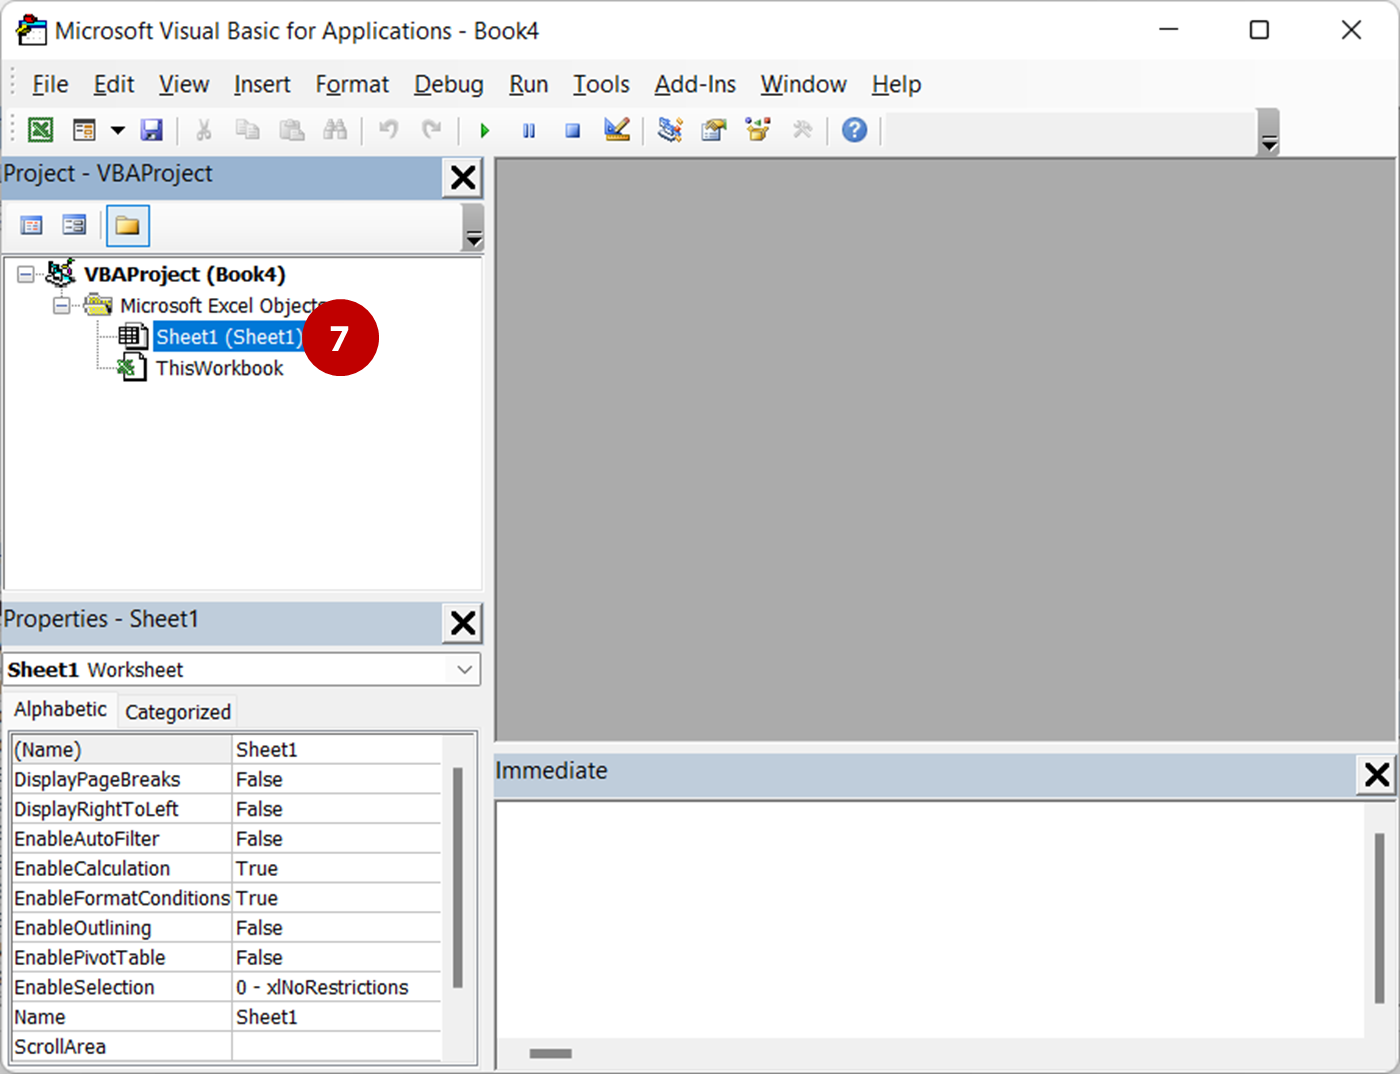
- Under the Project section, double-click on the sheet containing your object. For the most part, any code we create or test will pertain to this sheet.
Step 8
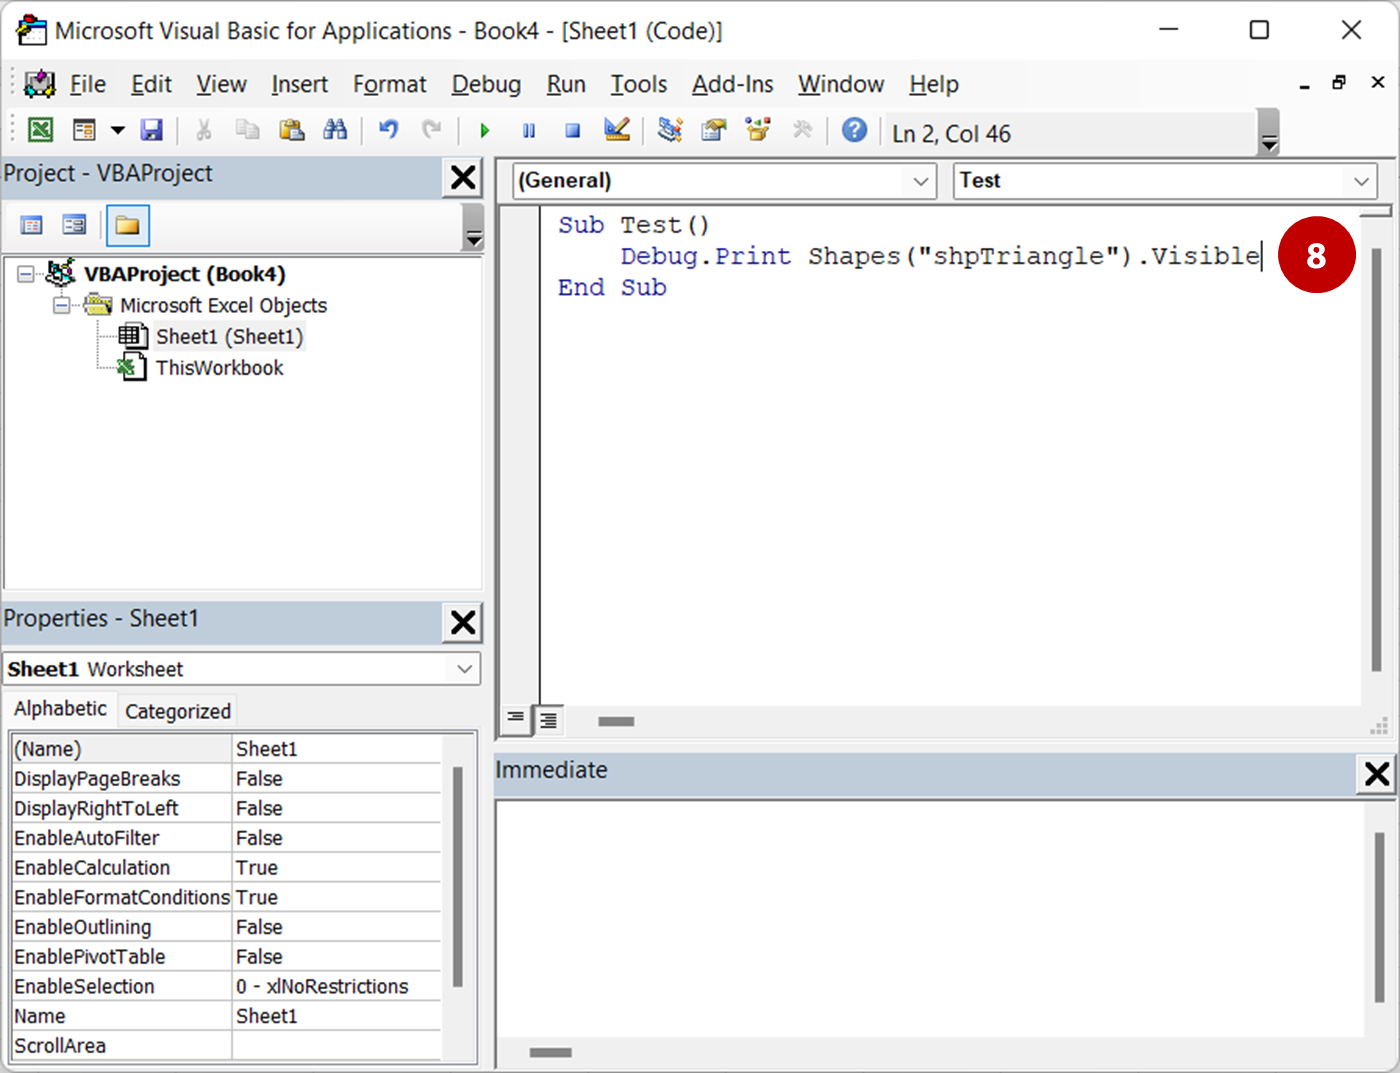
- Enter the following code in the code window for your sheet.
Sub Test()
    Debug.Print Shapes("shpTriangle").Visible
End Sub
Steps 9 and 10
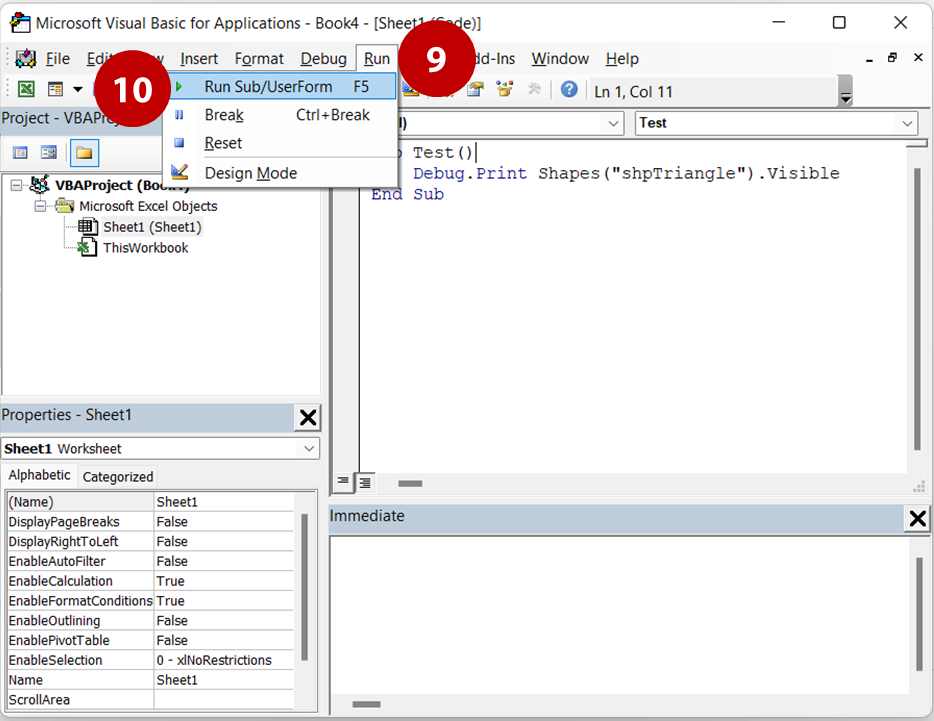
- Click Run from the main menu.
- Under the Run menu, select Run Sub/UserForm.
If you typed everything correctly, then you should see a result in the Immediate Window.
Basically, Debug.Print sends results of a single line of code to the Immediate Window. In addition, you can run certian Debug.Print routines directly in the Immediate Window.
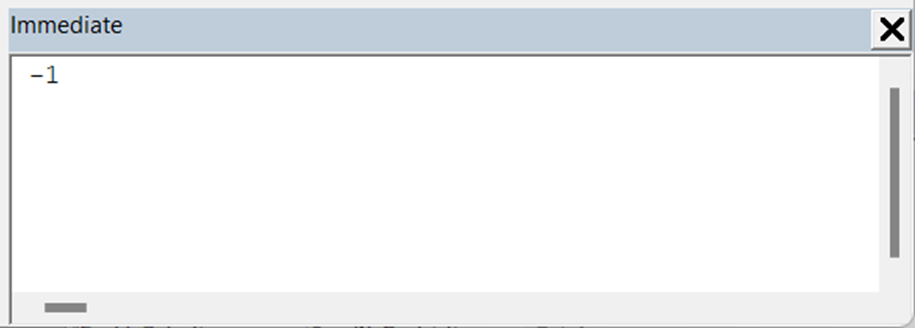
Below is the result of Debug.Print Shapes(“shpTriangle”).Visible, which tells us if our object is visible or not.
If you want to hide your shape, then try the following code.
Sub Test()
    Shapes("shpTriangle").Visible = False
    Debug.Print Shapes("shpTriangle").Visible
End Sub
So, after you run this code, line 2 hides the shape, and line 3 should display 0 in the Immediate Window.
By the way, make sure you unhide your object by changing line 2 to Shapes(“shpTriangle”).Visible = True. Also, run it after the change.
Success!
So, were you successful in this task? If not, then give it another shot.
Also, a great illustration of using objects in Excel is our Wingding Match game.
Related
- Edit a basic macro in Excel – how to
- Insert hyperlinks in Excel – How-to
- Run a macro from a form button in Excel – How to
- Show or hide an object with a button in Excel – How to