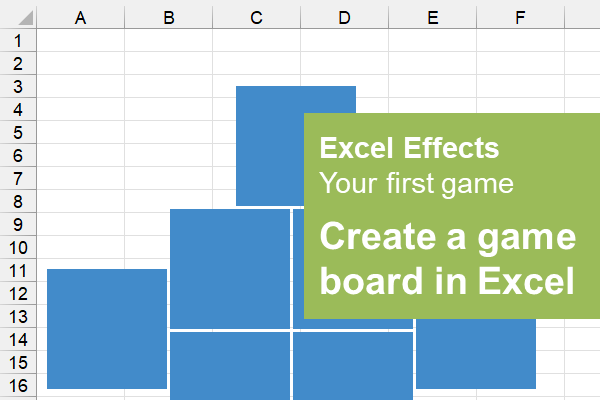
This lesson shows you how to create a game board in Excel.
Before we start the frontend part of the project, take a look at the requirements below.
Requirements
- A personal computer, running the Windows operating system with a two button mouse
- Excel 2007 or higher. We are using Excel 2204 for Office 365. However, we plan to show you the process in compatibility mode.
Create a game board
For the board, we will work on placing the faces of the game. These will simply be boxes. Also, the faces are the objects people will click on to display an object or character.
The Steps
So, let us get started. Firstly, start a new Excel worksheet and follow the steps below.
Step 1: Insert a shape onto the Excel canvas
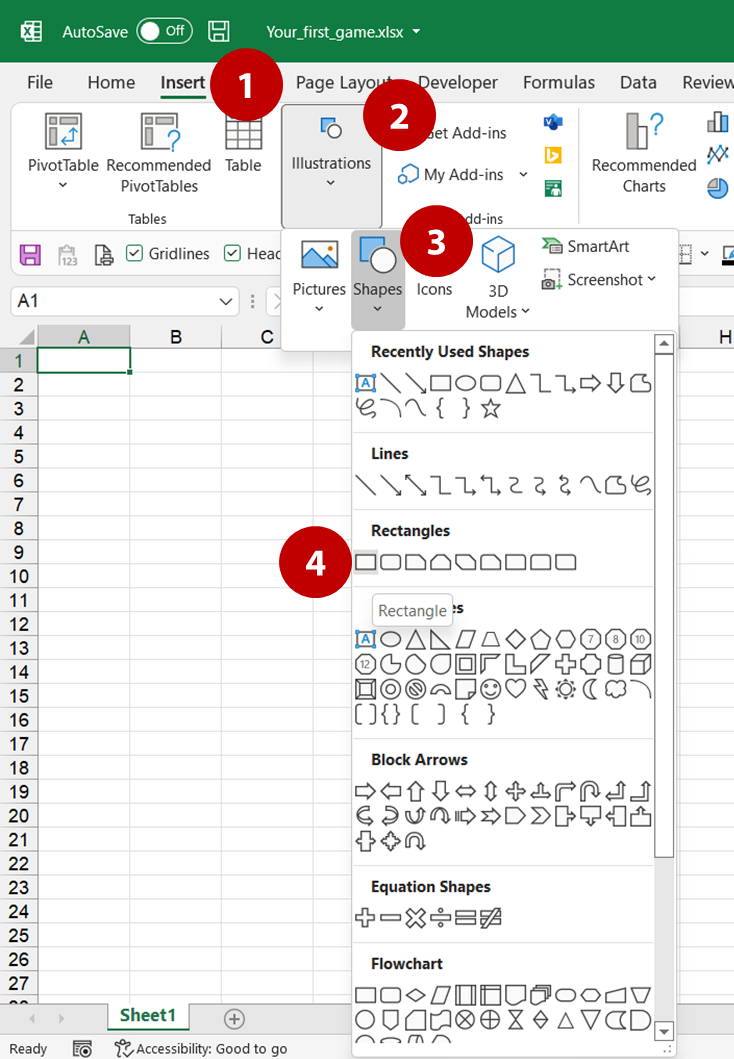
- Select Insert from the main menu. This will display the Insert ribbon.
- From the Insert ribbon, click the Illustrations option.
Note: You may have to use Insert…Shapes in your version of Excel. - Under Illustrations, select Shapes.
- In the Shapes dropdown, choose the first rectangle from the Rectangles group.
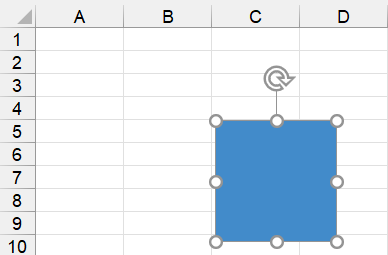
Lastly, click somewhere on the sheet, and your rectangle should appear.
As a result, a rectangle is placed on the sheet, as shown below. By the way, we know it is a square. At least, on our system.
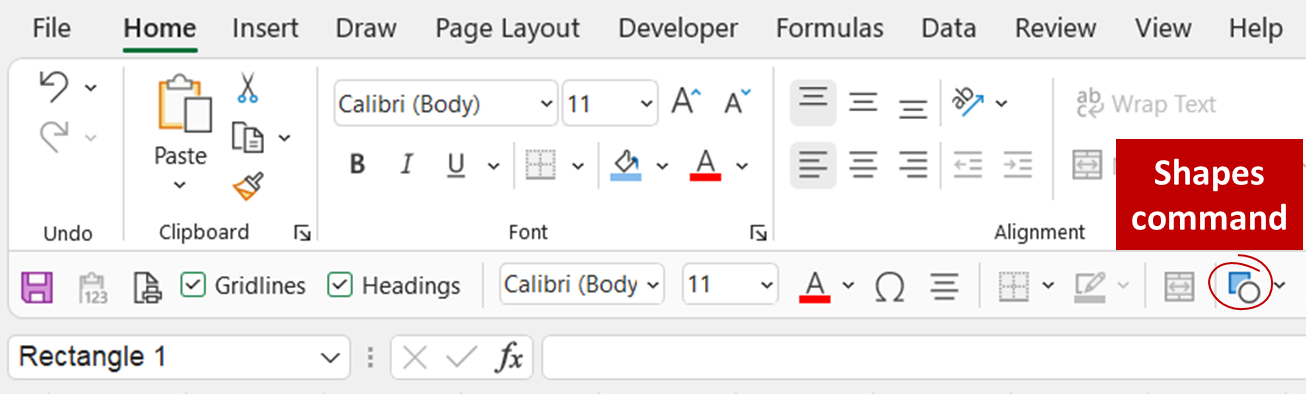
Note: You do not need to use a rectangle as a face. It is up to you. Also, we suggest placing the Shapes command on the quick access toolbar. See figure below.
Next, let us make it where this box does not move or resize itself when something happens to the structure of the worksheet.
Step 2: Set size and properties of the box
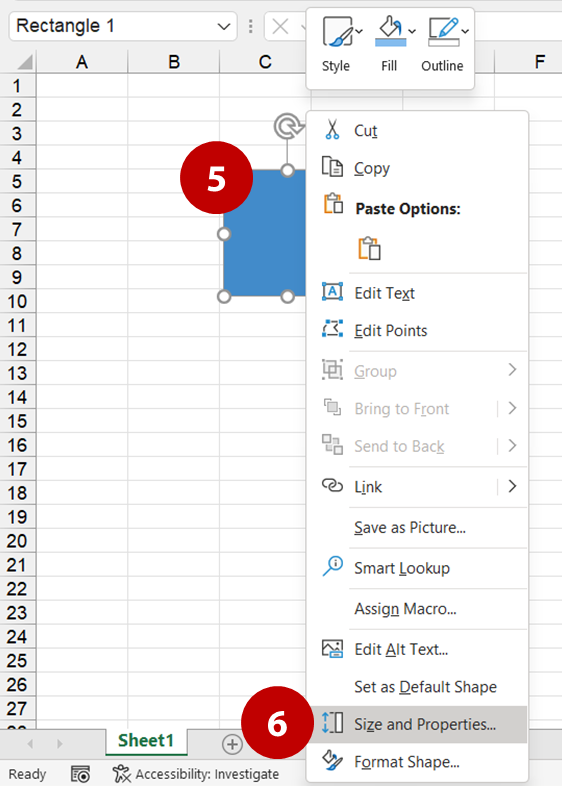
- Right-click on the rectangle. Thus, the shortcut menu appears for the selected object.
- From the shortcut menu, select Size and Properties…
Afterward, the Format Shape dialog box opens. Moreover, you should automatically be in the Shape Options page. In any case, we will go through the steps for you.
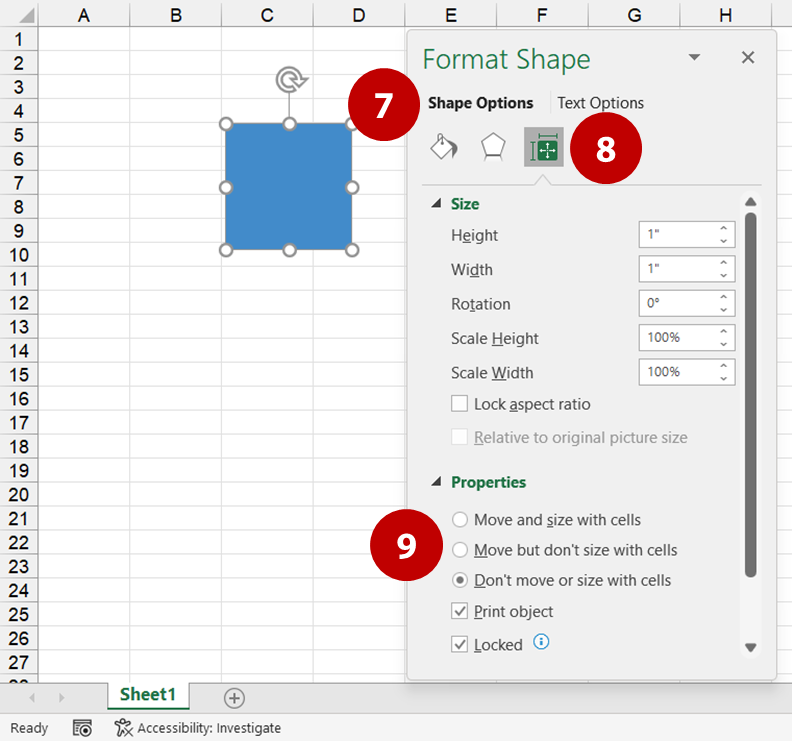
- From the Format Shape dialog box, select the Shape Options page.
- Secondly, click the Size and Properties icon.
- Under the Properties section, select the Don’t move or size with cells option.
So, now if someone changes the row or column height, etc., the rectangle should remain in place.
Note: Notice in the Size section, our box is 1 inch by 1 inch. Basically, a square. We like that. Overall, it will make creating additional levels easier.
Next, we need to copy the box seven more times. Level one of the game will contain eight boxes.
Step 3: Copy and organize remaining boxes for level one
To copy the boxes, click and hold on the box. Then, using the Ctrl key, drag the box. So, just click and drag while holding the Ctrl key. Do this seven times.
If you want to keep the boxes aligned, then hold on the Shift key too.
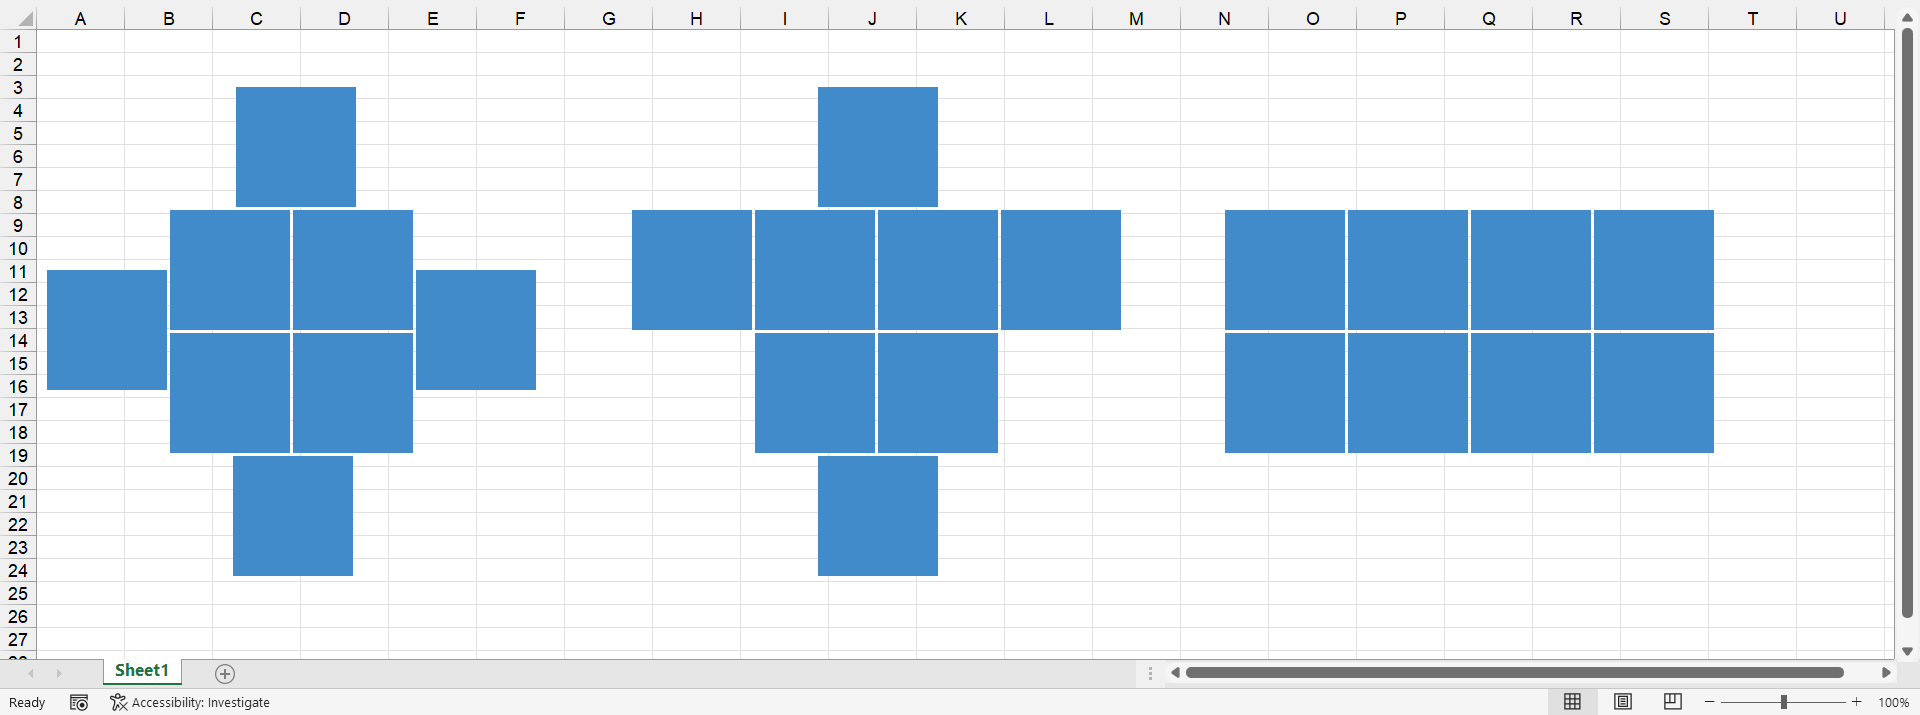
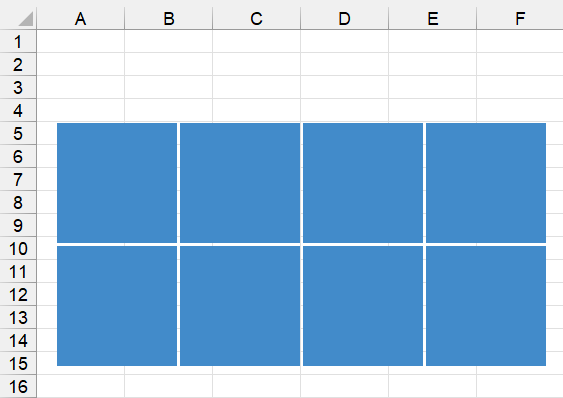
The results
Below is the result of organizing our boxes.
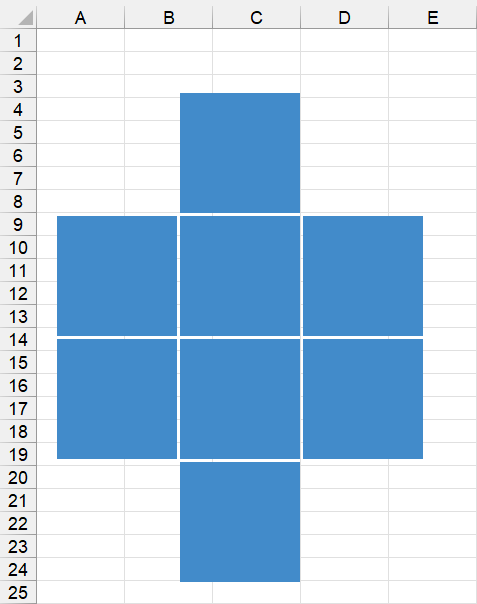
So, you can also organize your boxes in the following ways. It is up to you.
Design 2
Design 3
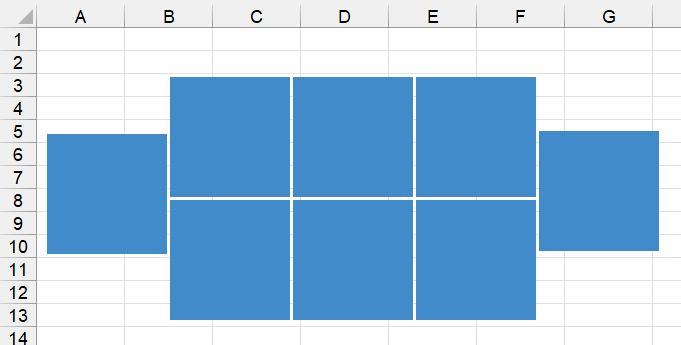
Design 4
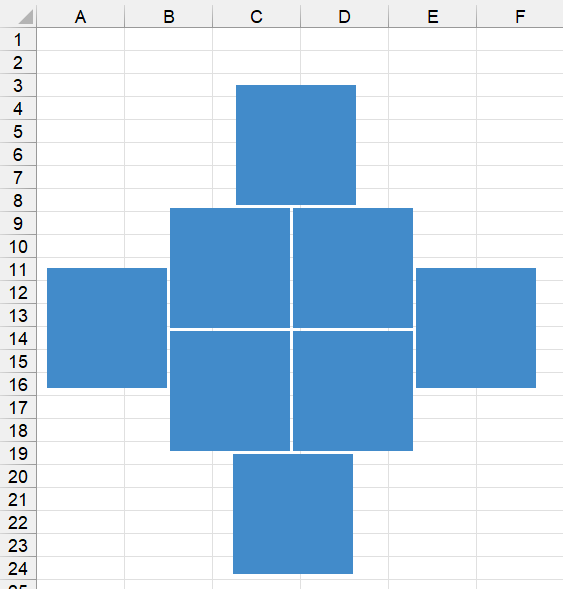
Finally, we have the main part of our frontend design done. Of the four designs, we will work with the last one, design 4.
So, this is just the start. We have more to do. Therefore, we must keep going.
What is next?
In the next lesson, we will assign names to our game boxes.